
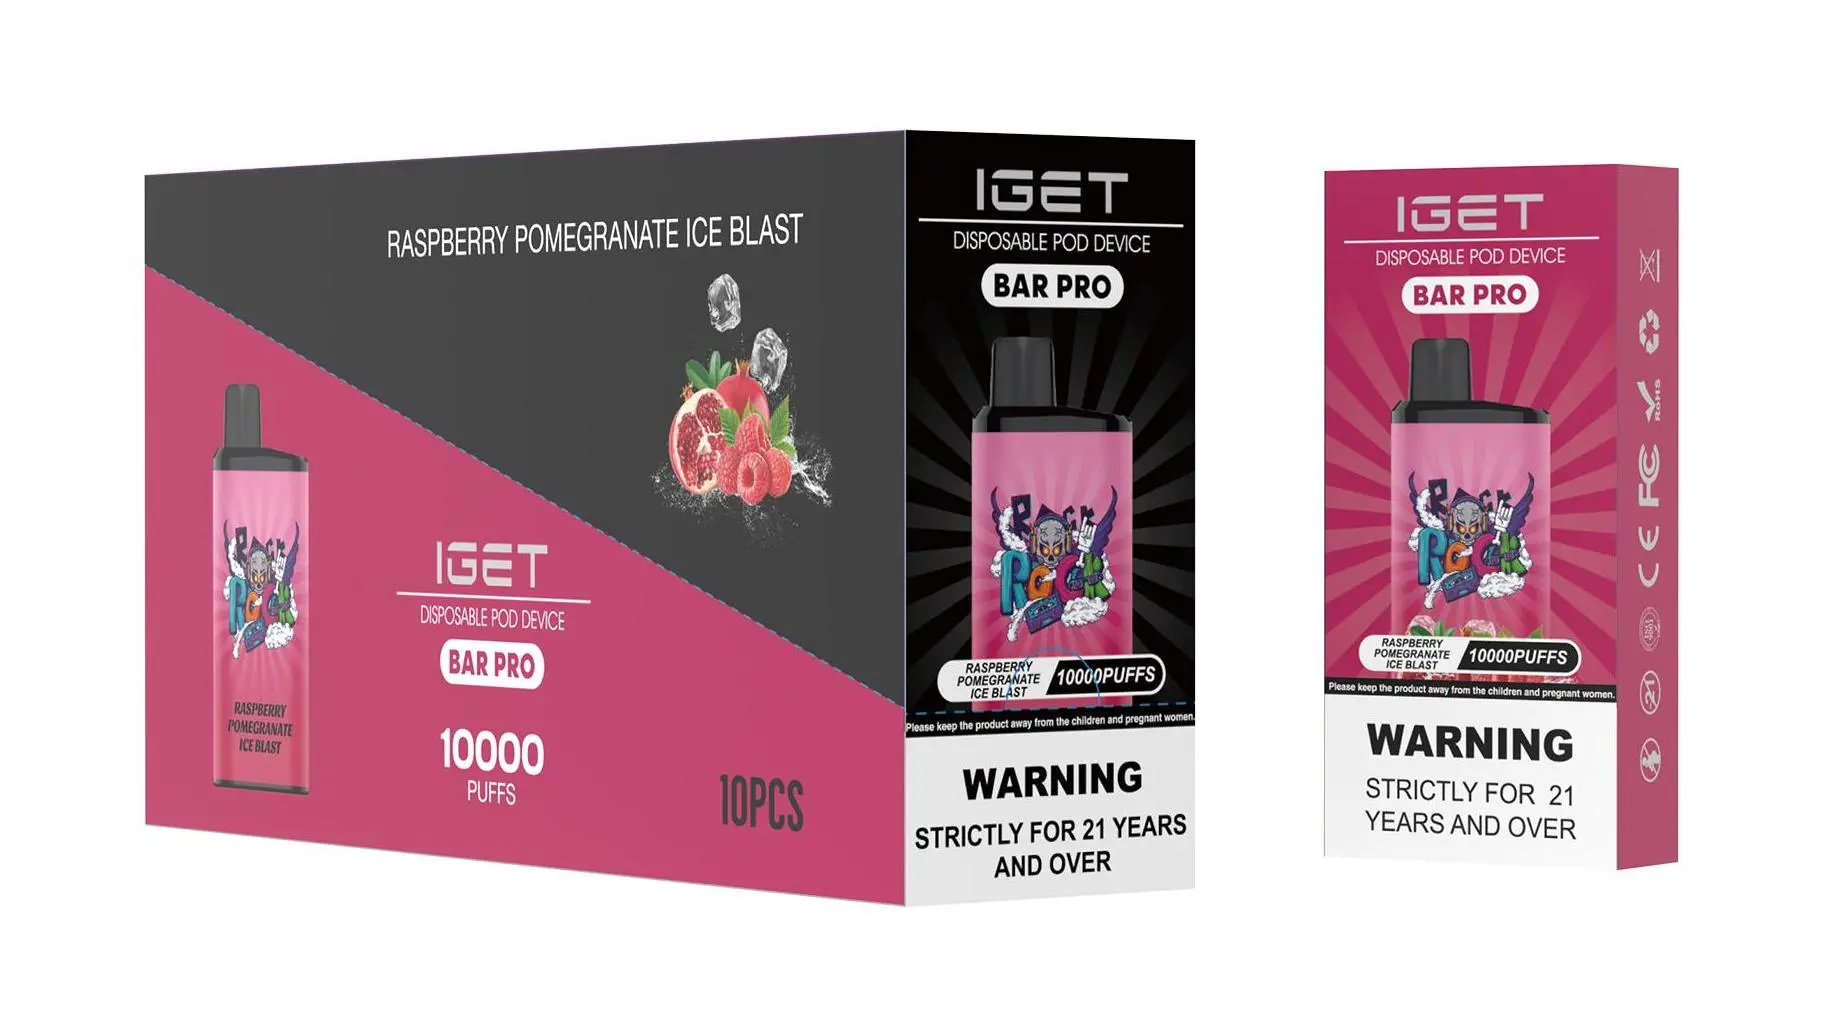
Crochet vape holders have quietly become a favourite project among makers who enjoy combining practical crafting with everyday accessories. For vapers, a dedicated sleeve or pouch is more than a decorative addition — it protects the device, keeps it clean in a handbag or pocket, and reduces the risk of accidental activation when it rubs against keys or coins. The best part? A crochet vape holder is simple enough for a beginner, yet flexible enough for advanced crafters to experiment with texture, colour, and embellishment.
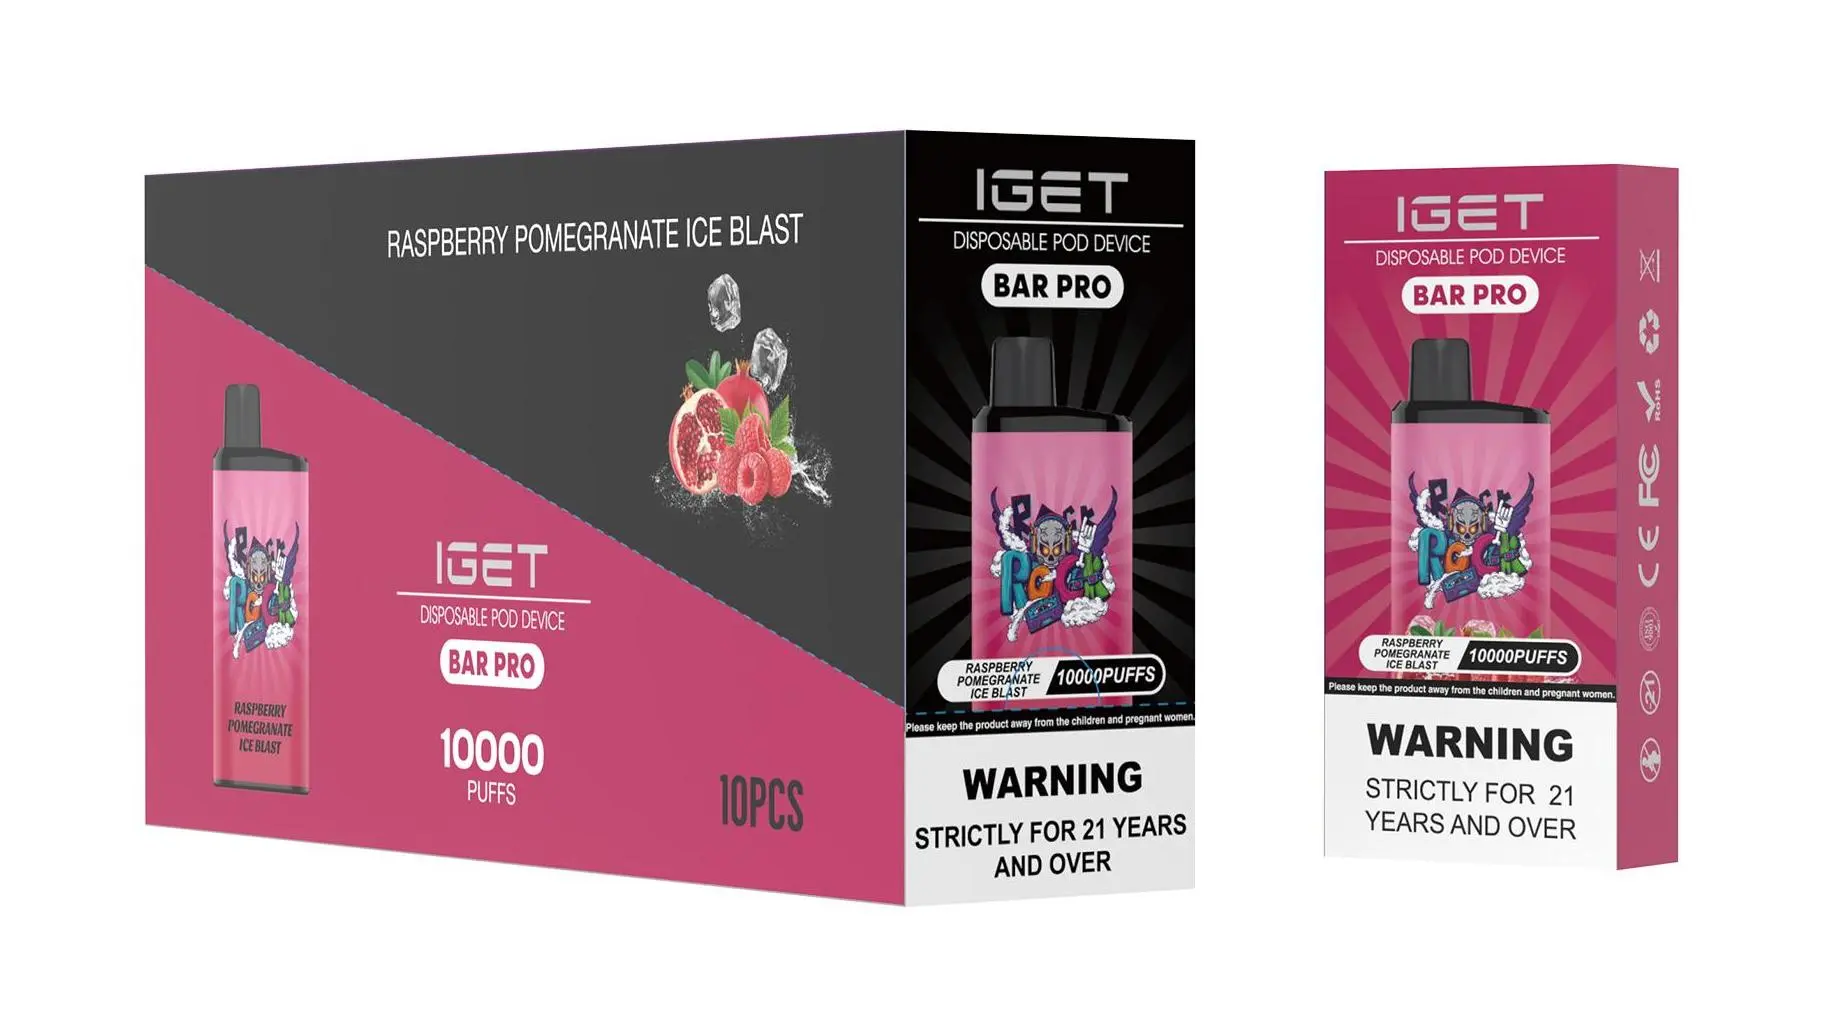
This guide walks through the entire process, from choosing yarn and measuring your device to stitching a snug pouch and adding creative variations. Whether you use a compact pod system or a higher-capacity disposable like the ones found at iGetBaroz, these techniques will produce a well-fitting, custom holder that lasts for months.
Why a Crochet Vape Holder Makes Sense
Practical Protection for a Must-Have Device
A disposable or pod-based vape is designed to withstand daily use, but its exterior still faces scratches, dust, and the occasional drop. A crocheted cover acts as a soft buffer, absorbing impact and preventing scuffs from forming on the device finish. The tight stitch pattern also keeps moisture from seeping into the mouthpiece area, which is helpful when the holder is carried in a damp jacket or gym bag.
Industry surveys consistently point to device damage as one of the top reasons vapers replace their hardware earlier than expected. According to a 2023 consumer accessories report, roughly 42% of vapers have damaged a device by dropping it or storing it loosely with other items. A simple fabric sleeve — whether crocheted, knitted, or sewn — can noticeably reduce this risk. This is especially relevant for disposable vapes with sensitive airflow ports, where dust can accumulate in the tiny opening over time.
A Personal Touch in a Standardised Market
Disposable vapes are engineered for consistency and convenience, which means most devices have a similar cylindrical or boxy silhouette. A crochet holder allows you to break away from that uniformity. By using hand-dyed yarn, custom stitch patterns, or a favourite colour combination, you can transform a factory-made product into something that feels personal.
Beyond looks, a holder makes it easier to identify your vape quickly. Many crafters add small charms, buttons, or embroidered initials to the pouch, which can be particularly helpful in shared households or at social gatherings. Market research suggests that the accessories segment for vapes has grown steadily, with protective sleeves and lanyards accounting for a notable share of aftermarket purchases. For those who prefer a do-it-yourself approach, crochet offers a cost-effective and deeply customisable alternative to mass-produced neoprene cases.
Why Size and Fit Matter
A vape holder that is too loose leaves the device sliding around, defeating the purpose of protection. One that is too tight can be cumbersome to insert and remove, and may place extra pressure on the buttons or the airflow mechanism. This is why the first step of any crochet project is measuring the actual device you intend to carry.
Different products have different dimensions. For example, a leading brand like iGetBaroz offers an extensive range of devices, from ultra-compact bars that sit comfortably in a palm to higher-capacity systems that are noticeably longer and wider. Measuring your specific model before you start will ensure that the finished holder fits like a glove. The good news is that crochet is forgiving: you can adjust the starting chain and number of rounds to match almost any size, and even a novice can make a custom pouch after just a short practice session.
Materials and Tools You Will Need
Choosing the Right Yarn
Yarn selection is the most important factor in creating a snug, durable holder. Cotton yarn is often the recommended starting point because it retains its shape well, doesn’t stretch excessively, and holds up to frequent handling. A worsted-weight or DK-weight cotton works well for most devices, providing a balance between thickness and flexibility. Acrylic yarn is another option, offering a wider range of colours and a softer feel, though it can stretch slightly more with heavy use.
If you prefer a more tactile finish, consider a cotton-bamboo blend. This combination feels smooth against the hand and has a subtle sheen that makes the stitches look polished. Avoid very bulky yarn for a snug holder, because the added thickness can make the interior cavity too small even if your gauge matches. On the other hand, lace-weight yarn will produce a somewhat flimsy cover that offers less protection.
A survey of crafters who specialise in tech accessories found that nearly 70% prefer cotton or a cotton blend for items that need to hold their shape, while 20% use acrylic for ease of care and lower cost. The remaining 10% combine multiple yarn types to create textured patterns. For a first project, a 100% mercerised cotton is a safe and reliable choice.
Matching Your Hook to the Yarn
Your crochet hook size should correspond to the yarn weight, but the exact match depends on the tension you want. For a dense, protective fabric, choose a hook one size smaller than the manufacturer recommends. For example, if your DK-weight yarn suggests a 4.0 mm hook, using a 3.5 mm hook will create tighter stitches that are less likely to catch on pocket contents.
Metal hooks generally provide better stitch definition than plastic or bamboo, but the feel is largely personal. Try a few different hooks to see which one allows a smooth rhythm without cramping. Similarly, a stitch marker can help you keep track of round starts, especially if you are working in a spiral without a visible seam.
Additional Supplies
Beyond yarn and a hook, you will need:
Scissors for cutting yarn
A yarn needle for weaving in ends
A tape measure or ruler for measuring your vape
Optional: buttons, beads, or embroidery thread for decoration
A stitch marker or a small piece of contrasting yarn
Having all supplies ready before you begin helps keep the project moving smoothly. Many crafters also find it helpful to keep a small notebook where they record the exact dimensions of their device and the stitch counts they used. This becomes an invaluable reference for future projects or for sizing a holder for a friend.
Step-by-Step Pattern: Basic Snug Pouch
Measuring Your Device
Before you crochet a single chain, take three measurements:
Height – from the base of the device to the top of the mouthpiece.
Width – across the widest part of the body.
Depth – from front to back, if the device is rectangular.
For cylindrical devices, measure the circumference around the body and divide it by two to get the flat width. This is helpful because a crochet pouch is essentially a flat envelope that wraps around the vape. You will make a rectangle wide enough to cover the front and back of the device, with a little extra room for the seam.
A good rule of thumb is to add 0.5 cm to 1 cm to each measurement to account for ease. This allows the holder to slide on and off comfortably without being loose. For high-capacity disposable vapes sold through iGetBaroz, many of which feature longer bodies and larger mouthpieces, it is often useful to create a slightly deeper pouch that covers the lower two-thirds of the device. Leaving the mouthpiece exposed makes it easier to vape without removing the holder.
Foundation Chain and First Rows
The pattern below describes a basic rectangular pouch worked flat, then seamed along the sides. This is the easiest method for a beginner and produces a clean, symmetrical result.
Create the foundation chain. Use a stitch marker to mark the first few chains, then chain a number of stitches equal to your desired width. To determine the length, work a small swatch of the stitch pattern you intend to use. Measure how many stitches fit per centimetre, and then multiply by the desired width. For example, if you get 2.5 single crochet stitches per centimetre and you want an 8 cm wide pouch, you will need approximately 20 chain stitches.
Work the first row. Starting in the second chain from the hook, work single crochet across. Chain one and turn. Then continue working single crochet in each stitch until the rectangle equals the desired height of the holder.
Add a flap if desired. For a more secure holder, continue working an extra 2–3 cm of single crochet to form a fold-over flap. This flap can cover the top of the device and snap shut with a button, keeping dust away from the mouthpiece.
Finish and seam. Once your rectangle is complete, fasten off and weave in the loose ends. Fold the rectangle in half with the right sides together. Use a yarn needle to whip stitch the side seams, leaving the top open. Trim any loose threads.
Creating a Round Pouch for Cylindrical Vapes
If your device is long and cylindrical, you may prefer to work in the round. This method eliminates a seam and gives a truly smooth, glove-like fit.
Start with a magic ring. Chain two, then work six single crochet into the ring. Pull the ring closed tightly.
Increase to your desired width. Work an increase into every stitch until the circle is slightly smaller than the diameter of your vape. Stop increasing when the circle reaches the natural width of the device. For most disposable vapes, this will be around 2.5 to 3 cm in diameter.
Work even. Continue with single crochet in each stitch, without any increases, until the tube is as tall as you want. You can test the fit by slipping the vape inside after the first few centimetres. If it is too tight, unravel and add another increase round. If it is too loose, consider starting over or using a smaller hook.
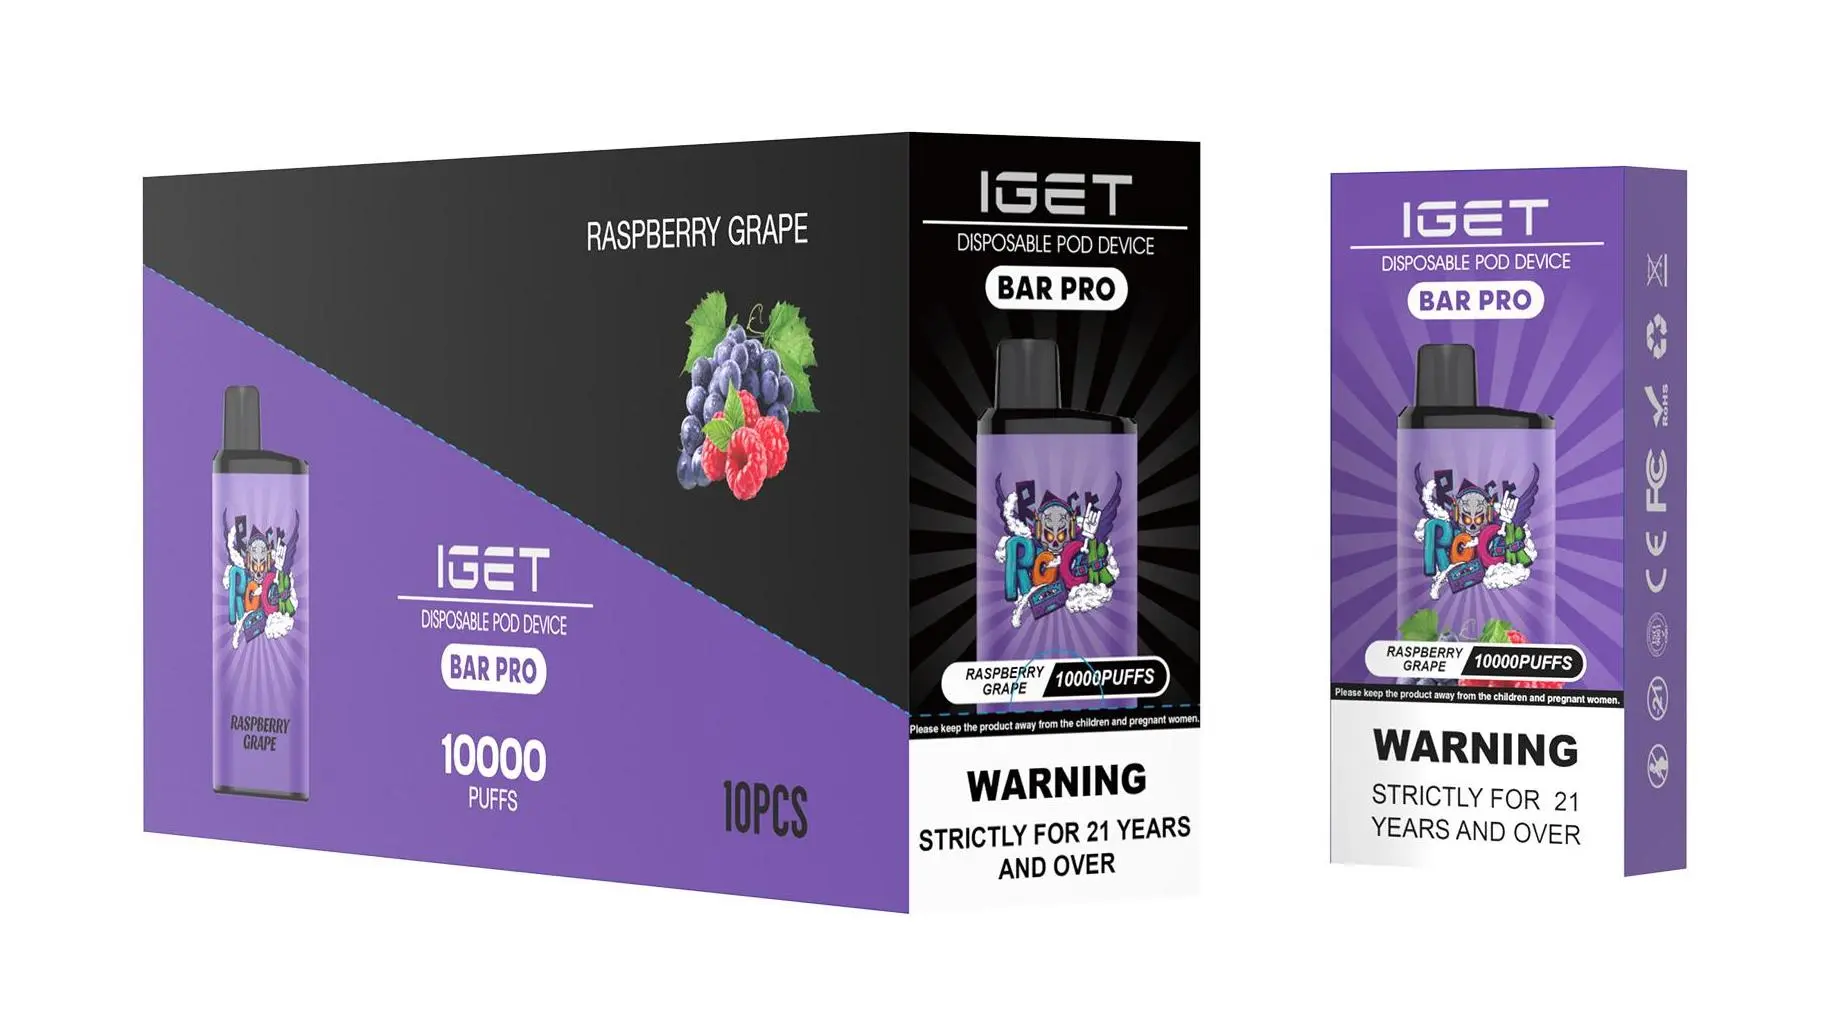
Create a drawstring top. To make the holder more adjustable, work a final round with chain spaces to create holes for a ribbon or crocheted cord. This allows you to cinch the top around the body of the vape, leaving the mouthpiece exposed.
Testing the Fit
Fit is the most important measure of success. After finishing your holder, try inserting and removing the vape a few times. A good fit should require no wrestling; the device should slide in smoothly and remain in place when turned upside down. If it feels too tight, lightly wet-block the pouch by spraying it with water and gently stretching it to size. Cotton responds well to this treatment, while most acrylic yarns also relax with steam.
Some crafters like to add a small stitch or two inside the pouch to create a slight waist, which can help hold a vape more securely if the mouthpiece is tapered. This is a simple adjustment: when seaming the sides, bring the top edges slightly inward before stitching. This creates a gentle pinching effect that keeps the device from sliding through.
Stylish Variations and Customization
Playing with Stitch Patterns
The basic single crochet pouch is only the beginning. There are dozens of stitch patterns that add visual interest while maintaining a snug structure. Consider these options:
Half double crochet ribbing – worked in back loops only, this creates vertical ridges that hug the device and feel squishy.
Corner-to-corner granny squares – for a boxy rectangular vape, this pattern produces a modular cover that can be assembled like patchwork.
Cable stitch – while more advanced, cables add a sophisticated textured band along the side of the holder.
Shell stitch – for a more decorative look, this pattern adds scalloped edges that are still flexible enough for a good fit.
Each stitch pattern changes the drape and stretch of the fabric. A denser pattern, like single crochet or seed stitch, provides more protection, while an open lacy pattern is lighter and better for warm weather. If you opt for an open stitch, consider lining the inside with a thin fabric such as cotton to keep the vape clean and protected.
Colour and Yarn Combinations
Yarn colour is a personal choice, but practical considerations matter too. A light-coloured holder will show dirt and stains more readily, while a dark-coloured one may blend into a bag but hide lint effectively. Many crafters choose a shade that matches the vape’s pod or device wrapper, which creates a cohesive look.
Stripes and colour blocks are easy to achieve by changing yarn at the end of a row. You can also use self-striping yarn, which does the work for you. For a more polished finish, try a matching button and loop closure instead of a drawstring. This adds a professional touch and makes the holder look like a thoughtfully designed accessory.
Adding a Lanyard or Clip
A lanyard is one of the most practical additions to a vape holder. It lets you wear the vape around your neck or attach it to a bag, reducing the chance of leaving it behind. To add a lanyard, create a crocheted chain several centimetres long and attach it to the top corners of the pouch, or use a simple cord and attach with knots.
If you prefer a clip, use a small carabiner sold at hardware or craft stores. Sew a fabric loop into the top seam of the holder, then clip the carabiner through the loop. This is a versatile option that allows you to move the holder from a belt loop to a backpack strap easily.
A market analysis of vape accessories in 2024 found that lanyards and clips are among the fastest-growing categories, reflecting a broader desire for hands-free carrying solutions. By incorporating these elements into a crochet holder, you are not just creating a protective sleeve – you are making a functional fashion statement.
Embellishments That Stay Out of the Way
Buttons, wooden beads, and tassels add character but can also get in the way if placed in the wrong spot. Avoid large knobs or sharp objects on the inside of the holder. On the outside, be mindful of the placement: a button on the front could press against the vape’s firing button if the device is curved. If your holder wraps tightly, attach embellishments near the top or bottom, away from where your fingers grip the device during use.
Embroidery is a safe and low-profile option. Use contrasting thread to stitch a simple monogram, a small geometric pattern, or a tiny leaf motif onto the finished pouch. This adds a handmade feel without compromising the holder’s practicality.
Pro Tips for Fit and Finish
Gauge Swatches Are Not Optional
Even if you have crocheted for years, a gauge swatch will save you time in the long run. The same yarn and hook combination can produce different results depending on your individual tension. A swatch also allows you to test how the fabric feels when stretched around a small container of similar size to your vape. Some crafters use a glass jar or a marker cap as a stand-in during the design phase.
To make a gauge swatch, chain about 15 stitches and work 10 rows in your chosen stitch pattern. Measure the width and height, then calculate the number of stitches and rows per centimetre. This data is especially useful when you are designing a holder for a brand-new device that has just appeared in shops, such as a recently released model from iGetBaroz or another supplier. Instead of guessing, you can apply the exact gauge to the product’s listed dimensions.
Understanding Negative Ease
In sewing, negative ease means the finished garment is slightly smaller than the body it covers, which allows it to stretch and hold its shape. In crochet, the same principle applies. Because crochet fabric has some give, a holder that is 10–15% smaller than the circumference of the device will stretch to fit snugly and stay in place. This is especially useful for vapes made of slippery metal or smooth plastic.
Keep in mind that different stitch patterns have different amounts of stretch. Single crochet along the grain is relatively rigid, while a pattern that includes chains or double crochet has more give. If you are using a stretchier pattern, you can reduce the negative ease to around 5%, or even make the holder exactly the same dimensions as the device.
Reinforcing High-Stress Points
The top edge of a holder gets the most pressure, because that is where you pull the fabric to insert or remove the device. To reinforce this area, work an extra round of slip stitch around the opening, or add a simple border of single crochet. This not only strengthens the edge but also creates a neat, finished look.
If you are using a drawstring, reinforce the channel by working the first round with single crochet into the back loop only. This leaves the front loop as a visible ridge that can be used as a natural casing for the cord. Weave the drawstring through this row rather than punching holes through the fabric. This keeps the structure intact while allowing the top to close smoothly.
Storage and Cleaning
A crochet holder will eventually need a wash. Before washing, check the yarn label for care instructions. Most cotton yarn can be machine washed on a gentle cycle and laid flat to dry. Acrylic yarn also washes well, though it may soften or change texture slightly with heat. Always remove your vape from the holder before washing; never let the device come into contact with water or detergent.
Between washes, a quick brush with a lint roller will keep the holder looking fresh. Because the pouch is frequently touched, consider making two or three interchangeable holders so you can rotate them and prolong the life of each one. This also gives you an excuse to try different colourways and stitch patterns.
Summary and Outlook
A crochet vape holder is a small project with a big payoff. It offers protection for your device, a personal expression of style, and a satisfying crafting experience that can be completed in an evening or two. The basic technique is easy to learn, but the possibilities for customisation are nearly endless: different yarns, stitch textures, closures, and attachments mean that no two holders need to look alike.
As the disposable vape market continues to expand, the demand for well-designed accessories has grown in parallel. Whether you are making a holder for your own use or planning to gift one to a friend, the process outlined here gives you a reliable foundation. If you use a popular brand like iGetBaroz, remember to measure your specific device before you start, because sizing varies significantly between product lines.
In the future, we may see more craft patterns tailored specifically to vape devices, just as there are patterns for phone sleeves, glasses cases, and earbud holders. In the meantime, knowing how to adapt a simple pouch design to a cylindrical or pill-shaped object puts you ahead of the curve. Use these instructions as a starting point, and do not be afraid to experiment – after all, half the fun of crochet is making something unique that fits your own routine perfectly.
When your current holder begins to show signs of wear, you can simply create another one with a new stitch pattern or a fresh colour palette. The skills you build with this project are transferable to countless other accessories, which means the time you invest today will pay off in many future creations. So pick up your hook, choose a yarn you love, and stitch a secure and stylish home for your vape.